Frontend
Creating a React Project
With your new project open in your editor of choice, start by creating a React app with Vite. If you have npm installed, run npm create vite@latest frontend. If you don't have npm installed, alternate commands for Yarn, pnpm, Bun, and Deno can be found in the official vite guide.
Follow the setup wizard's presets except when selecting a framework (choose React instead of vanilla) and a variant (this tutorial will use Javascript instead of TypeScript). After finishing the setup, you should have a new React app in a folder titled "frontend"!
This is not a React tutorial, so I will not be explaining in-depth how React routers, useState, useEffect, etc. work
If everything worked, the dev server should run automatically and you should see a vite logo and a react logo, along with a count component (see below for image).
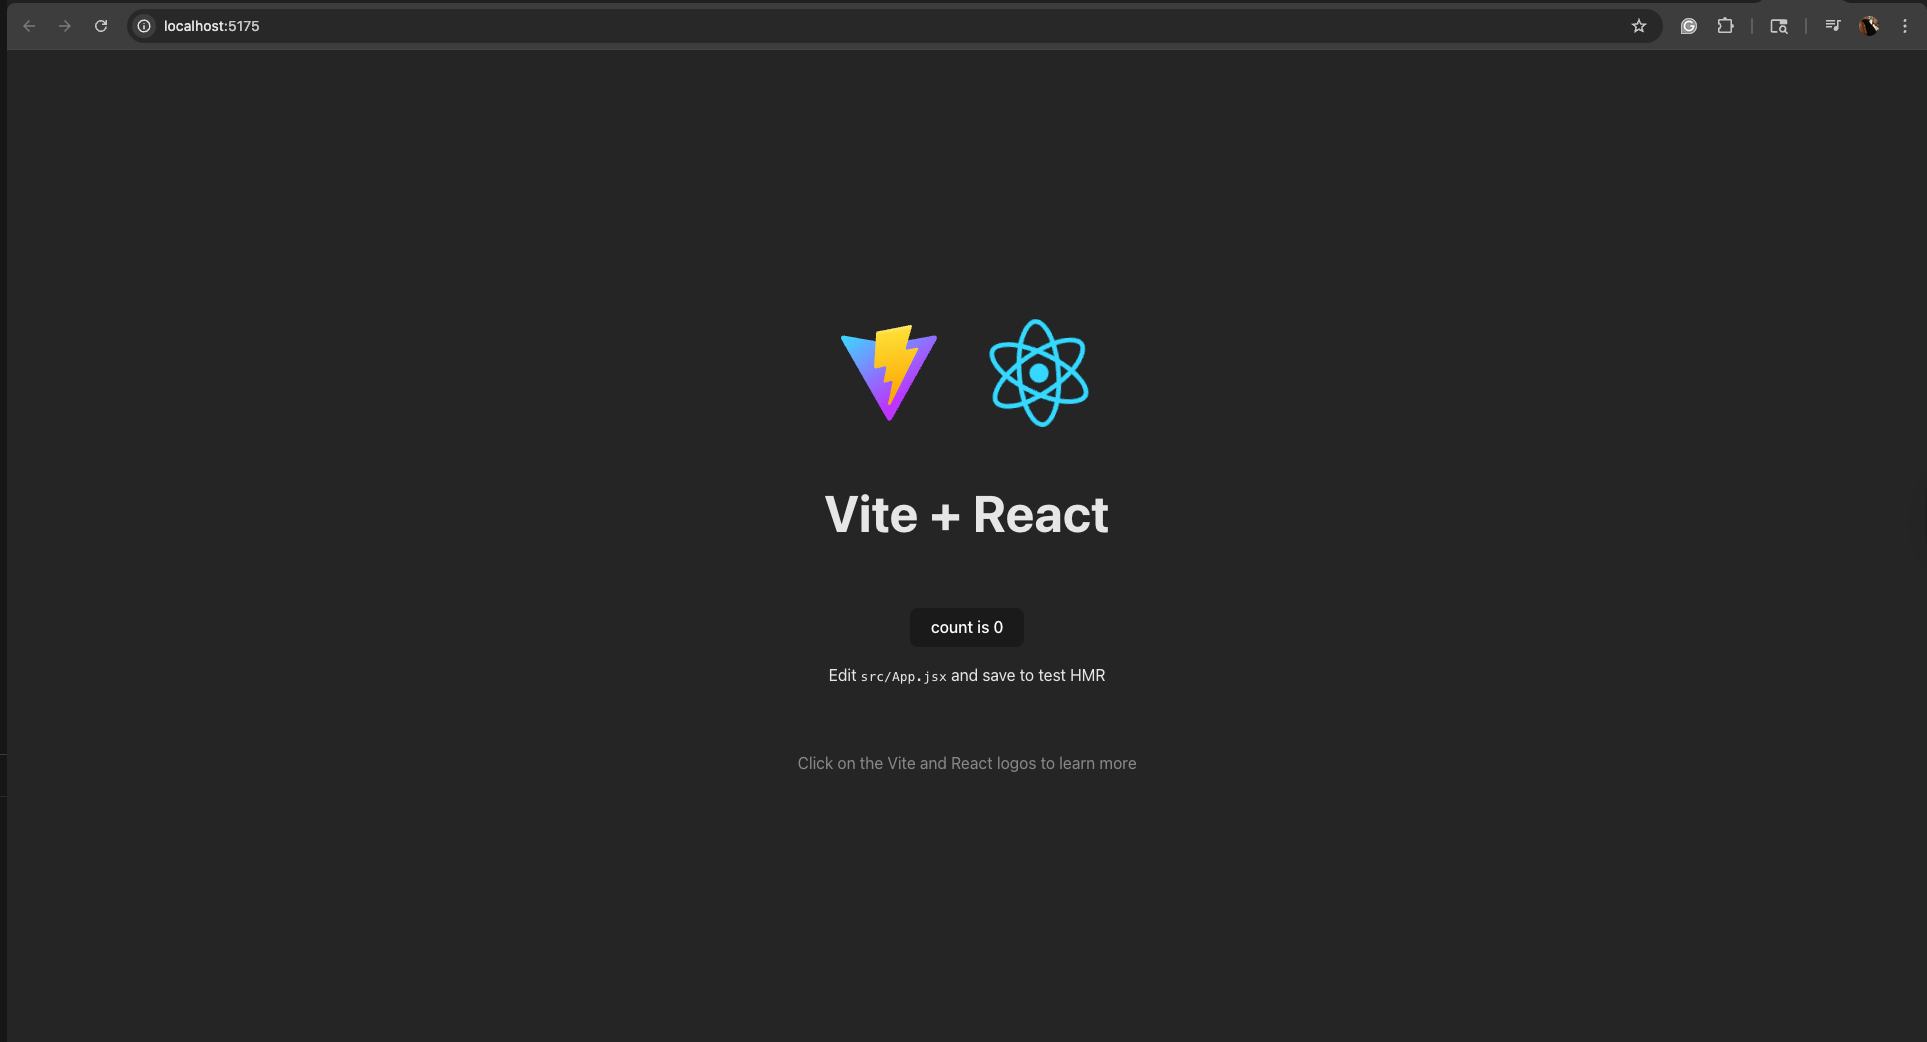
If you don't see this, try to delete the app and re-build with the same command. Navigate to frontend, then src, then App.jsx. This is the file where the majority of your code will go. For this section however, we will create separate pages for logging in and registering based on the same AuthLayout.jsx template.
In the src folder, create the following new files: AuthLayout.jsx, Login.jsx, and Register.jsx. Also create AuthLayout.css, which will be used to style the authentication pages.
Setting up main.jsx for routing
In order to be able to access the login and register pages, we'll need to be able to use /login and other URL filepaths. Doing this requires updating the main.jsx file. In the main.jsx file, add the following imports:
import AuthLayout from './AuthLayout.jsx'; {/* the parent template for both the login and register views */}
import Login from './Login.jsx'; {/* the login component, which includes the form and backend request for authenticating a user*/}
import Register from './Register.jsx'; {/* the register component, which includes the form and backend request for registering a new user */}
import { BrowserRouter, Routes, Route } from "react-router-dom"; {/* necessary for allowing URL routing to different pages and defining those routes */}
In order for this to work, you will first have to install react-router-dom. You can do this with the following command, but make sure you are in the frontend folder:
npm install react-router-dom
Now, change the content inside the <StrictMode> element from the default (<App />) to the following:
<BrowserRouter> {/* this allows navigating via browser URLs */}
    <Routes> {/* container for route definitions */}
        <Route path="/" element={<App />} /> {/* defines a mapping between the App component and the base URL */}
        {/* authentication routes */}
        <Route element={<AuthLayout />}> {/* the below are nested routes, which allow the page-within-a-page functionality we are looking for with templating */}
            <Route path="login" element={<Login />} /> {/* defines a mapping between the Login component and the /login url */}
            <Route path="register" element={<Register />} /> {/* defines a mapping between the Register component and the /register url */}
        </Route>
    </Routes>
</BrowserRouter>
Now, we can navigate to different authentication pages (login and register) via URL routes!
AuthLayout
The AuthLayout.jsx file will serve as our template for the Login and Register pages. Since this is a template and we'll be nesting other pages inside of it, you will need to import Outlet from react-router-dom. Wherever you place the <Outlet> tag is where the content on the Login and Register files will appear.
import { Outlet } from 'react-router-dom'; {/* see above for explanation of this */}
import './AuthLayout.css'; {/* for styling */}

function AuthLayout() {
    return (
        <>
            {/* this is the content we want to be on every authentication page (register and login) */}
            <h1>Welcome to TaskManager, </h1>
            <p style={{ marginTop: '0px', marginBottom: '10px', color: 'purple' }}>
                an easy way to manage and share your todo list.
            </p>
            <Outlet /> {/* renders nested route (login or register) */}
        </>
    )
}

export default AuthLayout;
Now, delete everything in the index.css file and add the following to AuthLayout.css:
* {
  font-family: "Nunito", sans-serif;
}

form, p {
  margin-left: 10px;
}

button {
  margin-bottom: 10px;
}

h1 {
  margin: 10px;
}

.task-list-ul {
  text-align: left
}

.error {
  color: red;
}

button {
  background-color: rgb(214, 214, 214);
  border: 2px solid rgb(113, 113, 113);
  border-radius: 10px;
  padding: 5px;
}

input {
  border: 2px solid rgb(158, 158, 163);
  border-radius: 5px;
  padding: 5px;
  width: 200px;
  margin: 10px 10px;
}
This styling is super minimal but helps the user interface look a little more polished. In this tutorial I will not be adding more styling to the auth pages, but if you would like to for your application feel free to do so!
Login
The Login.jsx file will include the display for a user to enter their credentials, along with a fetch request to the backend to confirm verify those credentials. Let's start with a simple React component:
import { useState, useEffect } from 'react'; {/* will allow handling username and password variables, along with error messages for the user */}
import './AuthLayout.css'; {/* adds a little bit of margin to make everything appear cleaner */}
import { useNavigate } from 'react-router-dom'; {/* this is for redirecting to the main dashboard after a successful login attempt */}

function Login() {

    return (
        <>
            <h1>Login</h1>
        </>
    )
}

export default Login;
Now add a simple form for retrieving the user's credentials inside of the <> in return, beneath the Login heading:
<div className="form"> {/* for styling */}
    <form onSubmit={login}>
        <label htmlFor="username">Username: </label>
        <input type="text" id="username" name="username"/><br/>
        <label htmlFor="password">Password: </label>
        <input type="password" id="password" name="password"/><br/>
        <button type="submit">Log in</button>
    </form>
</div>
<p>Don't have an account? Register <a href="/register">here</a></p>
And above the form, add a short line to display errors if they occur:
<div className="error">
    <p>{errorForUser}</p>
</div>
In order to keep track of a username, password, and errors to display to the user, we will be using useState, which will allow the credentials the user types to be rendered in the input element:
const [username, setUsername] = useState("");
const [password, setPassword] = useState("");
const [errorForUser, setErrorForUser] = useState("");
Now, let's make it so that whenever these inputs are changed, the username and password variables' values update accordingly (onChange attribute), and the value will display the current values for the variables (value attribute):
<div className="form">
    <form onSubmit={login}>
        <label htmlFor="username">Username: </label>
        <input type="text" id="username" name="username" value={username} onChange={(e) => setUsername(e.target.value)}/><br/>
        <label htmlFor="password">Password: </label>
        <input type="password" id="password" name="password" value={password} onChange={(e) => setPassword(e.target.value)}/><br/>
        <button type="submit">Log in</button>
    </form>
</div>
Now we need to define the URL to make requests to which will pull from environmental variables. Later, we'll configure this in the database section, but for now we'll include a fallback for local development. This will be important when the application is deployed on an EC2 instance!
const url = import.meta.env.VITE_FETCH_URL ? import.meta.env.VITE_FETCH_URL : "http://localhost:8000";
Now we have a form which is storing the user's credentials! But how can this application verify if these credentials are correct? And what is the "login" function that's called when the form is submitted? First, the login function needs to prevent the default form submission behavior (reloading the page) because that isn't necessary here. Then, it will make a request to the backend which includes the entered credentials. Instead of using a static URL, it will use a URL from an environmental variable (see above). From there, it will retrieve the response, update the error message if necessary, and if the login was a success, redirect to the main dashboard at "/". The below code to do that should be added beneath the onState variable declarations but above the return statement:
const navigate = useNavigate(); {/* this will allow us to redirect to a new URL for successful login attempts */}

const login = (event) => {
        event.preventDefault();
        fetch(url + "/authentication/login", {
            method: "POST",
            headers: {
                "Content-Type": "application/json",
            },
            body: JSON.stringify({ "username": username, "password": password })
        })
        .then((response) => response.json())
        .then((error) => {
                if (error.error == "None, login successful") {
                        navigate('/', { state: { username: username, activeUserUsername: username } })
                } else {
                        console.error("Error:", error.error);
                        setErrorForUser(error.error)
                }}
        )
        .catch((error) => {console.error("Error:", error); setErrorForUser("There was an error logging you in")});
}
Once we set up the backend to return a response, this will work great, except for one thing: we need to send a CSRF token so that Django knows the request is legitimate. We'll do this after building the register view. Just to review, this is what the Login.jsx should look like:
import { useState, useEffect } from 'react';
import './AuthLayout.css';
import { useNavigate } from 'react-router-dom';

const url = import.meta.env.VITE_FETCH_URL ? import.meta.env.VITE_FETCH_URL : "http://localhost:8000";

function Login() {
    const [username, setUsername] = useState("");
    const [password, setPassword] = useState("");
    const [errorForUser, setErrorForUser] = useState("");

    const navigate = useNavigate();

    const login = (event) => {
        event.preventDefault();
        fetch(url + "/authentication/login", {
          method: "POST",
          headers: {
            "Content-Type": "application/json",
          },
          body: JSON.stringify({ "username": username, "password": password })
        })
        .then((response) => response.json())
        .then((error) => {
            if (error.error == "None, login successful") {
                navigate('/', { state: { username: username, activeUserUsername: username } })
            } else {
                console.error("Error:", error.error);
                setErrorForUser(error.error)
            }}
        )
        .catch((error) => {console.error("Error:", error); setErrorForUser("There was an error logging you in")});
    }

    return (
        <>
            <div className="error">
                <p>{errorForUser}</p>
            </div>
            <div className="form">
                <form onSubmit={login}>
                    <label htmlFor="username">Username: </label>
                    <input type="text" id="username" name="username" value={username} onChange={(e) => setUsername(e.target.value)}/><br/>
                    <label htmlFor="password">Password: </label>
                    <input type="password" id="password" name="password" value={password} onChange={(e) => setPassword(e.target.value)}/><br/>
                    <button type="submit">Log in</button>
                </form>
            </div>
            <p>Don't have an account? Register <a href="/register">here</a></p>
        </>
    )
}

export default Login;
Register
Registration will look very similar to logging in except for there will be two passwords: password, and confirmPassword, which the backend will check are matching before creating the user, so we won't be going into depth about what every line is doing again. It will also send its fetch request to a different URL path. Here is the code:
import { useState, useEffect } from 'react';
import './AuthLayout.css';
import { useNavigate } from 'react-router-dom';

const url = import.meta.env.VITE_FETCH_URL ? import.meta.env.VITE_FETCH_URL : "http://localhost:8000";

function Register() {
    const [username, setUsername] = useState("");
    const [password, setPassword] = useState("");
    const [confirmPassword, setConfirmPassword] = useState("");
    const [errorForUser, setErrorForUser] = useState("");

    const navigate = useNavigate();

    const register = (event) => {
        event.preventDefault();
        fetch(url + "/authentication/register", {
          method: "POST",
          headers: {
            "Content-Type": "application/json",
          },
          body: JSON.stringify({ "username": username, "password": password, "confirm_password": confirmPassword })
        })
        .then((response) => response.json())
        .then((error) => {
            {/* using this sort of error passing from the backend helps me provide the user with more specific feedback */}
            if (error.error == "None, user creation successful") {
                navigate('/', { state: { username: username, activeUserUsername: username } })
            } else {
                console.error("Error:", error.error);
                setErrorForUser(error.error)
            }}
        )
        .catch((error) => {console.error("Error:", error); setErrorForUser("There was an error logging you in")});
    }

    return (
        <>
            <div className="error">
                <p>{errorForUser}</p>
            </div>
            <div className="form">
                <form onSubmit={register}>
                    <label htmlFor="username">Username: </label>
                    <input type="text" id="username" name="username" value={username} onChange={(e) => setUsername(e.target.value)}/><br/>
                    <label htmlFor="password">Password: </label>
                    <input type="password" id="password" name="password" value={password} onChange={(e) => setPassword(e.target.value)}/><br/>
                    <label htmlFor="password">Confirm password: </label>
                    <input type="password" id="confirmPassword" name="confirmPassword" value={confirmPassword} onChange={(e) => setConfirmPassword(e.target.value)}/><br/>
                    <button type="submit">Register</button>
                </form>
            </div>
            <p>Already have an account? Log in <a href="/login">here</a></p>
        </>
    )
}

export default Register;
CSRF Tokens
For a quick overview of CSRF tokens and why they're important, check out this article. While for testing it is possible to just set the Django backend to ignore CSRF tokens for all requests, this isn't secure when an application is actually deployed. So, in order to retrieve the CSRF token so that our React forms can send it in their request to the backend, we will follow the approach proposed by the top answer to this stackoverflow post. Start by creating a separate csrftoken.jsx file and adding the following code, which will retrieve the Django csrftoken cookie:
{/* this function is from the Stack Overflow answer linked above! */}
function getCookie(name) {
  let cookieValue = null;
  if (document.cookie && document.cookie !== '') {
    const cookies = document.cookie.split(';');
    for (let i = 0; i < cookies.length; i++) {
      const cookie = cookies[i].trim();
      if (cookie.startsWith(name + '=')) {
        cookieValue = decodeURIComponent(cookie.substring(name.length + 1));
        break;
      }
    }
  }
  return cookieValue;
}

const csrftoken = getCookie('csrftoken');

export { getCookie };
Now, we need to incorporate the CSRF token into the Login and Register forms and their requests. At the top of Login.jsx and Register.jsx, add import CSRFToken, { getCookie } from './csrftoken.jsx';. Then, add the following header in each fetch request (beneath "Content-Type": "application/json"): "X-CSRFToken": getCookie('csrftoken'), and, beneath "headers" in the fetch request, add credentials: "include",.
However, this code won't work on its own. Right now, the frontend will try to retrieve a CSRF cookie from the backend, but the backend might not have one initialized yet. So, add the below lines to both login and register to prompt the backend to generate a CSRF token once the page loads:
// sends initial CSRF token request
useEffect(() => {
    fetch(url + "/authentication/login", {
        method: "GET",
        credentials: "include",
    }).catch((error) => console.error("CSRF token retrieval error:", error));
}, []);
You may have noticed that we are using the login path for both requests. Since all we need to do is send a request to a backend URL which requires a CSRF token, either the login or register paths will work fine.
To recap, Login.tsx will now look like this:
import { useState, useEffect } from 'react';
import './AuthLayout.css';
import { getCookie } from './csrftoken.jsx';
import { useNavigate } from 'react-router-dom';

const url = import.meta.env.VITE_FETCH_URL ? import.meta.env.VITE_FETCH_URL : "http://localhost:8000";

function Login() {
    const [username, setUsername] = useState("");
    const [password, setPassword] = useState("");
    const [errorForUser, setErrorForUser] = useState("");

    const navigate = useNavigate();

    // sends initial CSRF token request
    useEffect(() => {
        fetch(url + "/authentication/login", {
            method: "GET",
            credentials: "include",
        }).catch((error) => console.error("CSRF token retrieval error:", error));
    }, []);

    const login = (event) => {
        event.preventDefault();
        fetch(url + "/authentication/login", {
          method: "POST",
          headers: {
            "Content-Type": "application/json",
            "X-CSRFToken": getCookie('csrftoken'),
          },
          credentials: "include",
          body: JSON.stringify({ "username": username, "password": password })
        })
        .then((response) => response.json())
        .then((error) => {
            if (error.error == "None, login successful") {
                navigate('/', { state: { username: username, activeUserUsername: username } }) // this state will be read by the dashboard to determine the active user, which is important for permissions later! */}
            } else {
                console.error("Error:", error.error);
                setErrorForUser(error.error)
            }}
        )
        .catch((error) => {console.error("Error:", error); setErrorForUser("There was an error logging you in")});
    }

    return (
        <>
            <div className="error">
                <p>{errorForUser}</p>
            </div>
            <div className="form">
                <form onSubmit={login}>
                    <label htmlFor="username">Username: </label>
                    <input type="text" id="username" name="username" value={username} onChange={(e) => setUsername(e.target.value)}/><br/>
                    <label htmlFor="password">Password: </label>
                    <input type="password" id="password" name="password" value={password} onChange={(e) => setPassword(e.target.value)}/><br/>
                    <button type="submit">Log in</button>
                </form>
            </div>
            <p>Don't have an account? Register <a href="/register">here</a></p>
        </>
    )
}

export default Login;
And Register.tsx should look like this:
import { useState, useEffect } from 'react';
import './AuthLayout.css';
import { getCookie } from './csrftoken.jsx';
import { useNavigate } from 'react-router-dom';

const url = import.meta.env.VITE_FETCH_URL ? import.meta.env.VITE_FETCH_URL : "http://localhost:8000";

function Register() {
    const [username, setUsername] = useState("");
    const [password, setPassword] = useState("");
    const [confirmPassword, setConfirmPassword] = useState("");
    const [errorForUser, setErrorForUser] = useState("");

    const navigate = useNavigate();

    // sends initial CSRF token request
    useEffect(() => {
        fetch(url + "/authentication/login", {
            method: "GET",
            credentials: "include",
        }).catch((error) => console.error("CSRF token retrieval error:", error));
    }, []);

    const register = (event) => {
        event.preventDefault();
        fetch(url + "/authentication/register", {
          method: "POST",
          headers: {
            "Content-Type": "application/json",
            "X-CSRFToken": getCookie('csrftoken'),
          },
          credentials: "include",
          body: JSON.stringify({ "username": username, "password": password, "confirm_password": confirmPassword })
        })
        .then((response) => response.json())
        .then((error) => {
            {/* using this sort of error passing from the backend helps me provide the user with more specific feedback */}
            if (error.error == "None, user creation successful") {
                navigate('/', { state: { username: username, activeUserUsername: username } }) // this state will be read by the dashboard to determine the active user, which is important for permissions later!
            } else {
                console.error("Error:", error.error);
                setErrorForUser(error.error)
            }}
        )
        .catch((error) => {console.error("Error:", error); setErrorForUser("There was an error logging you in")});
    }

    return (
        <>
            <div className="error">
                <p>{errorForUser}</p>
            </div>
            <div className="form">
                <form onSubmit={register}>
                    <label htmlFor="username">Username: </label>
                    <input type="text" id="username" name="username" value={username} onChange={(e) => setUsername(e.target.value)}/><br/>
                    <label htmlFor="password">Password: </label>
                    <input type="password" id="password" name="password" value={password} onChange={(e) => setPassword(e.target.value)}/><br/>
                    <label htmlFor="password">Confirm password: </label>
                    <input type="password" id="confirmPassword" name="confirmPassword" value={confirmPassword} onChange={(e) => setConfirmPassword(e.target.value)}/><br/>
                    <button type="submit">Register</button>
                </form>
            </div>
            <p>Already have an account? Log in <a href="/login">here</a></p>
        </>
    )
}

export default Register;
Docker
Now, let's create a Dockerfile. Dockerfiles provide instructions for Docker to create a container. Create a new file called Dockerfile in the frontend folder.
First, let's walk through what we're about to do conceptually. To start, we'll retrieve an image of Node.js version 22 on Alpine Linux. Then, we'll set the working directory of the Docker container. After that, copy the dependency files. Then, install dependencies. Since Docker caches each layer, this ensures that the container won't re-build unless the dependencies change. Next, copy over all application code. Finally, let's run npm run dev when the container starts, and document the port as 5173 (the default port for Vite's dev server).
Now, let's look at the code:
# loads the image
FROM node:22-alpine

# sets the container's working directory
WORKDIR /app

# copies over dependencies before installing, so that the container only re-builds when dependencies are changed
COPY package.json package-lock.json ./
RUN npm install

# copies all application code to the container
COPY . .

# default port from npm run dev - note that this line doesn't actually do anything, its just documentation for humans to know the port
EXPOSE 5173

# the Vite command for running a dev server (npm run dev), plus a host argument (more about this below)
CMD ["npm", "run", "dev", "--", "--host", "0.0.0.0"]
The final command which runs when the container starts also uses the host flag with 0.0.0.0, which tells Vite to listen on all network interfaces rather than just localhost (its default). This is necessary because localhost isn't accessable outside the container, which means you won't be able to see your authentication page, or any other page, on your local computer. Adding the host flag allows you to access the server in order to interact with the application.
Now let's run the application! The fetch requests won't work quite yet, but you can check out the user interface by running a Docker container. First, build the container with the below command:
docker build -t frontend .
The -t tag allows you to rename your docker image to frontend so that it is easier to reference later.
Then, run it with the following:
docker run -p 5173:5173 frontend
The -p argument allows you to specify a port. Here, we are connecting port 5173 of the container to port 5173 of your local computer so that you can access the page on localhost.
Now go to localhost:5173/login on your computer. You should see a simple user authentication screen like the one pictured below!
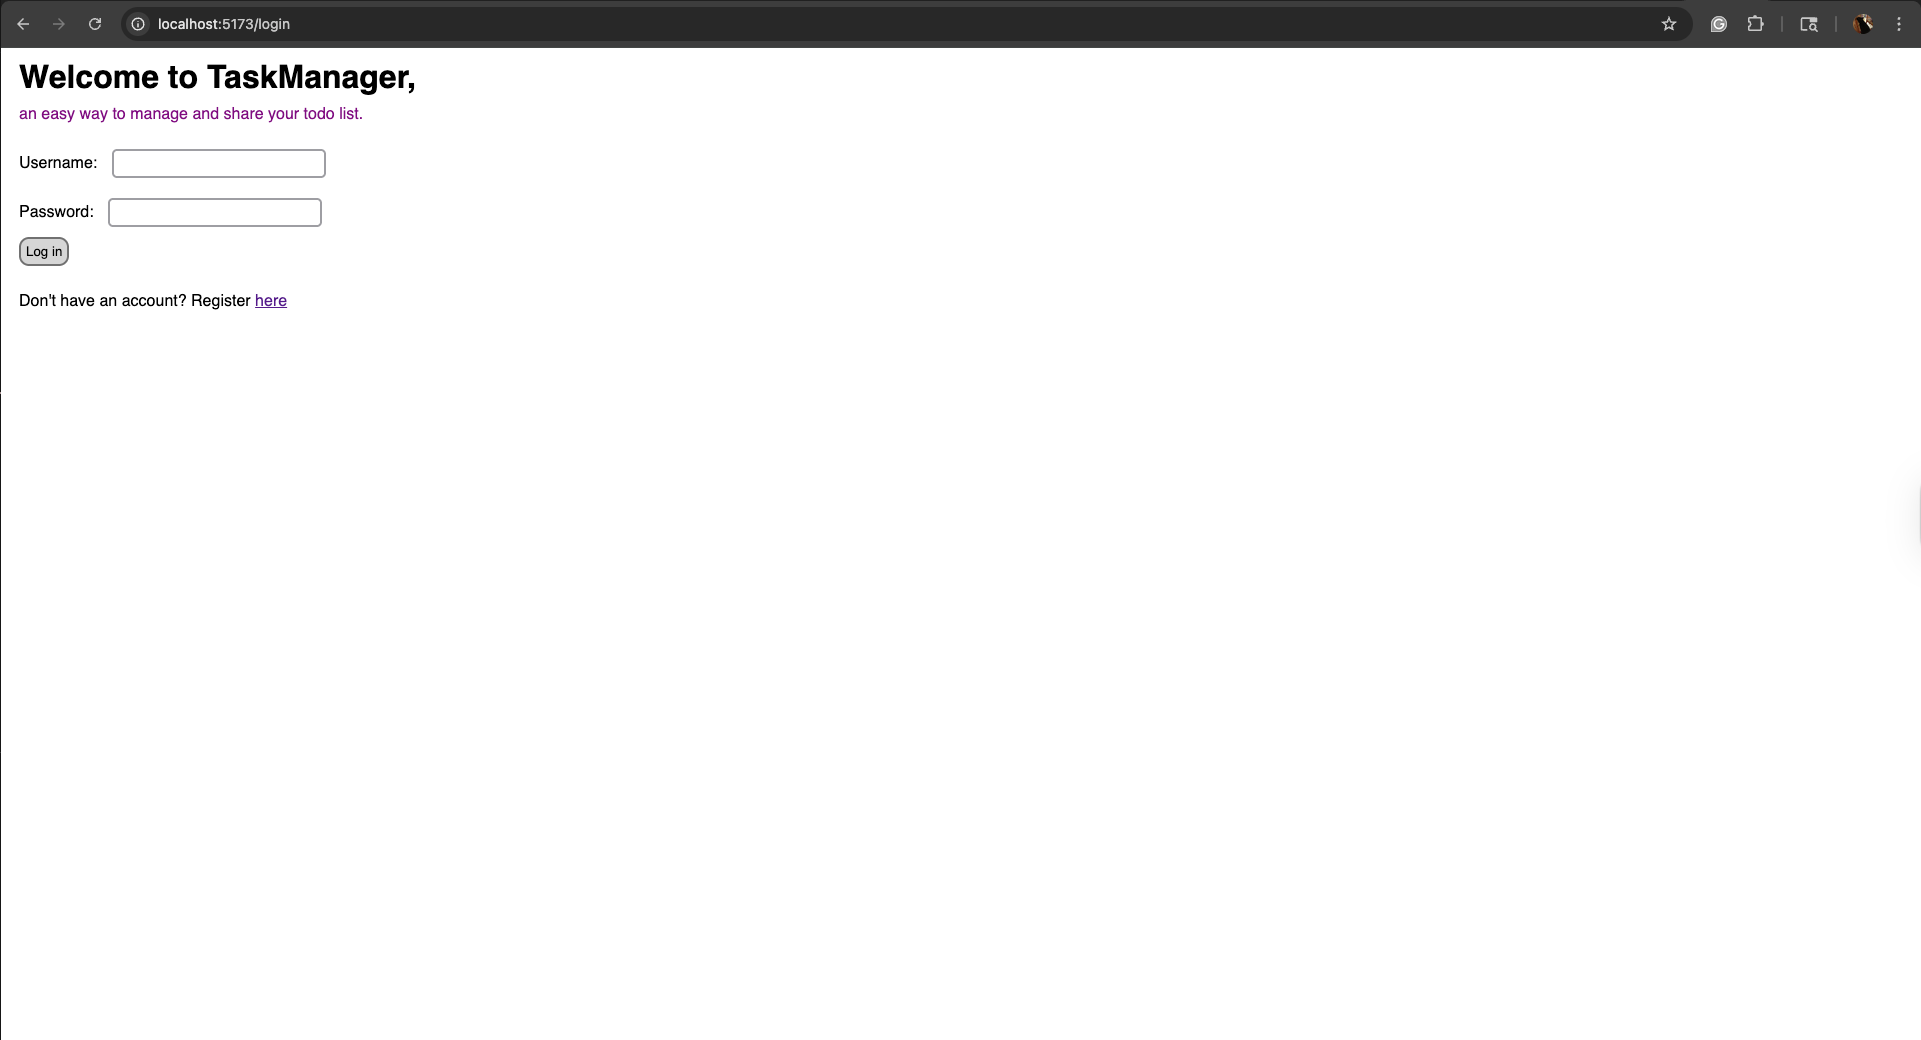
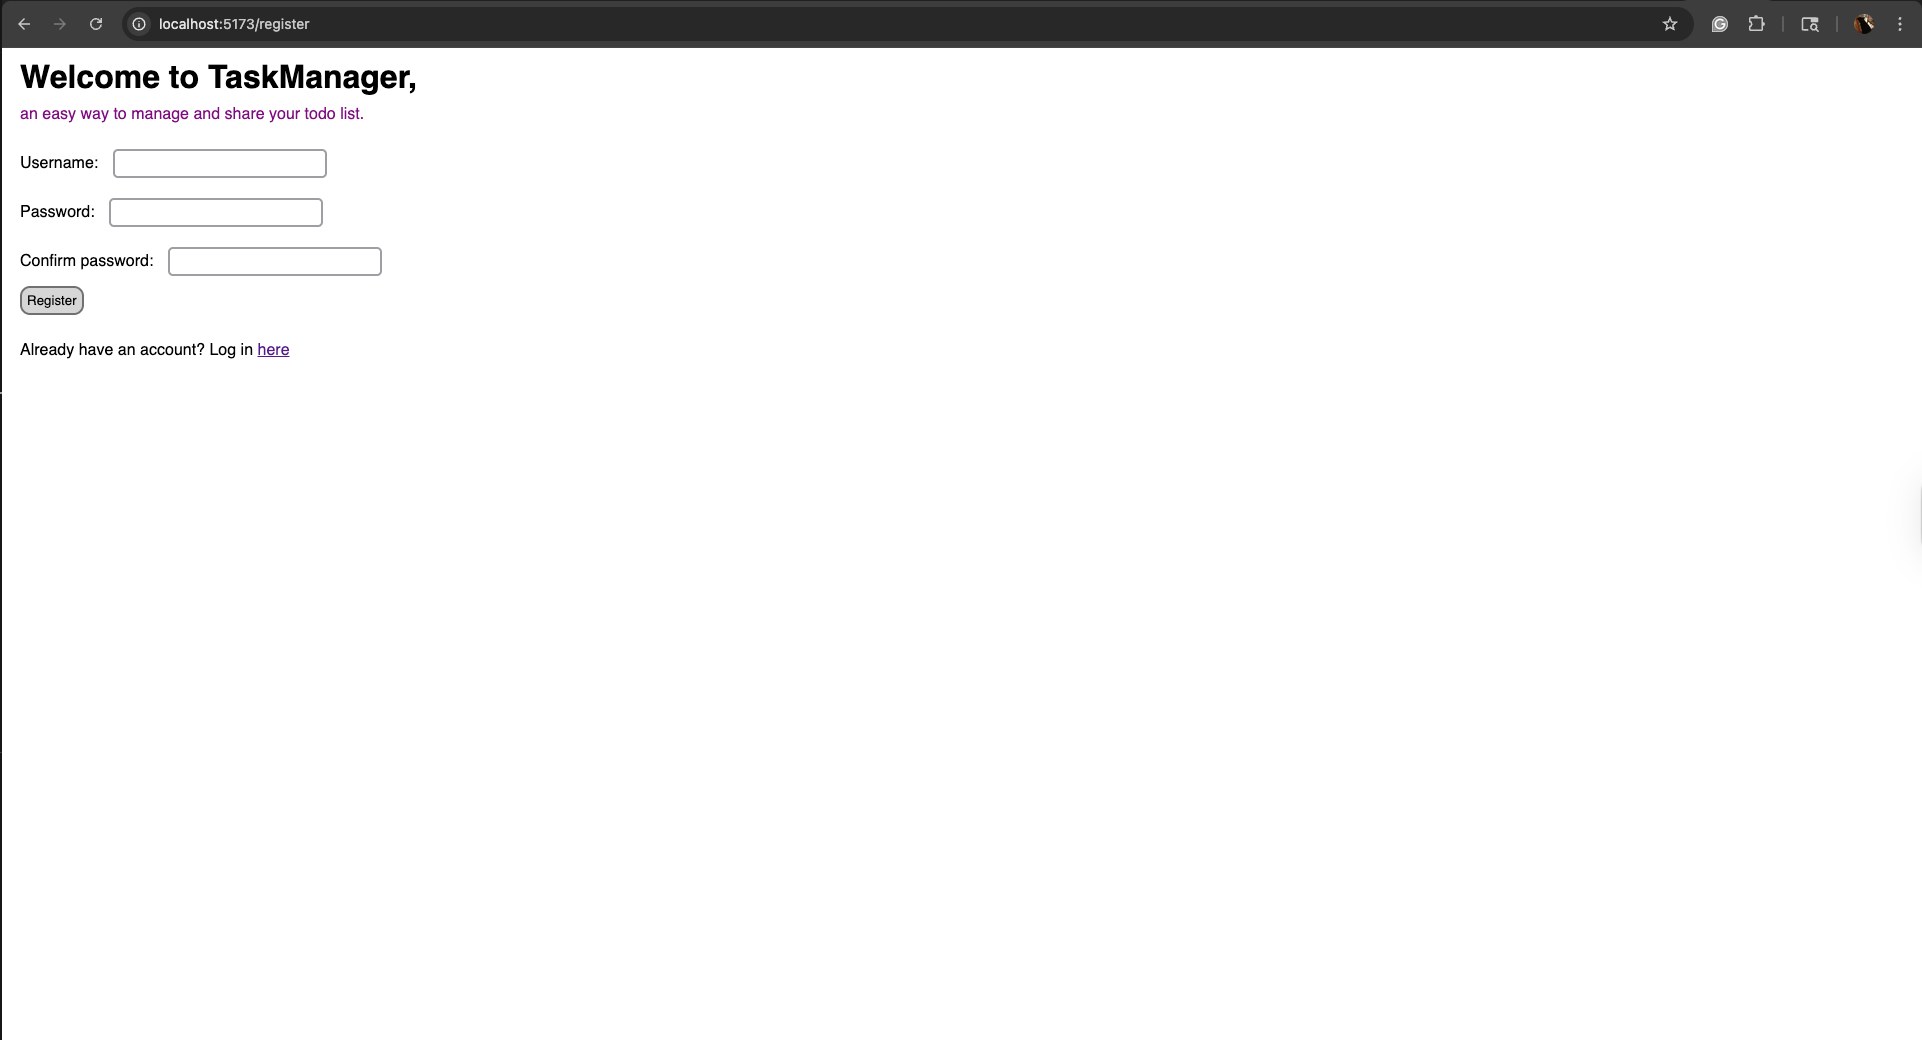
You can also check out localhost:5173/register.
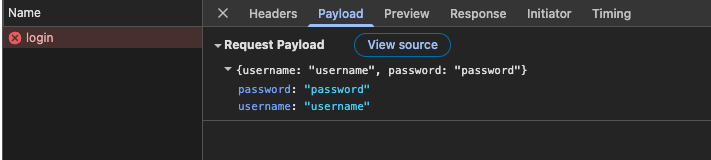
Open the networking tab in Chrome's developer tools (tutorial here), then try to enter some credentials and submit. You'll see that a request is sent, but the fetch fails since there's no backend to receive it. Here's a picture of what you should see when you click submit:
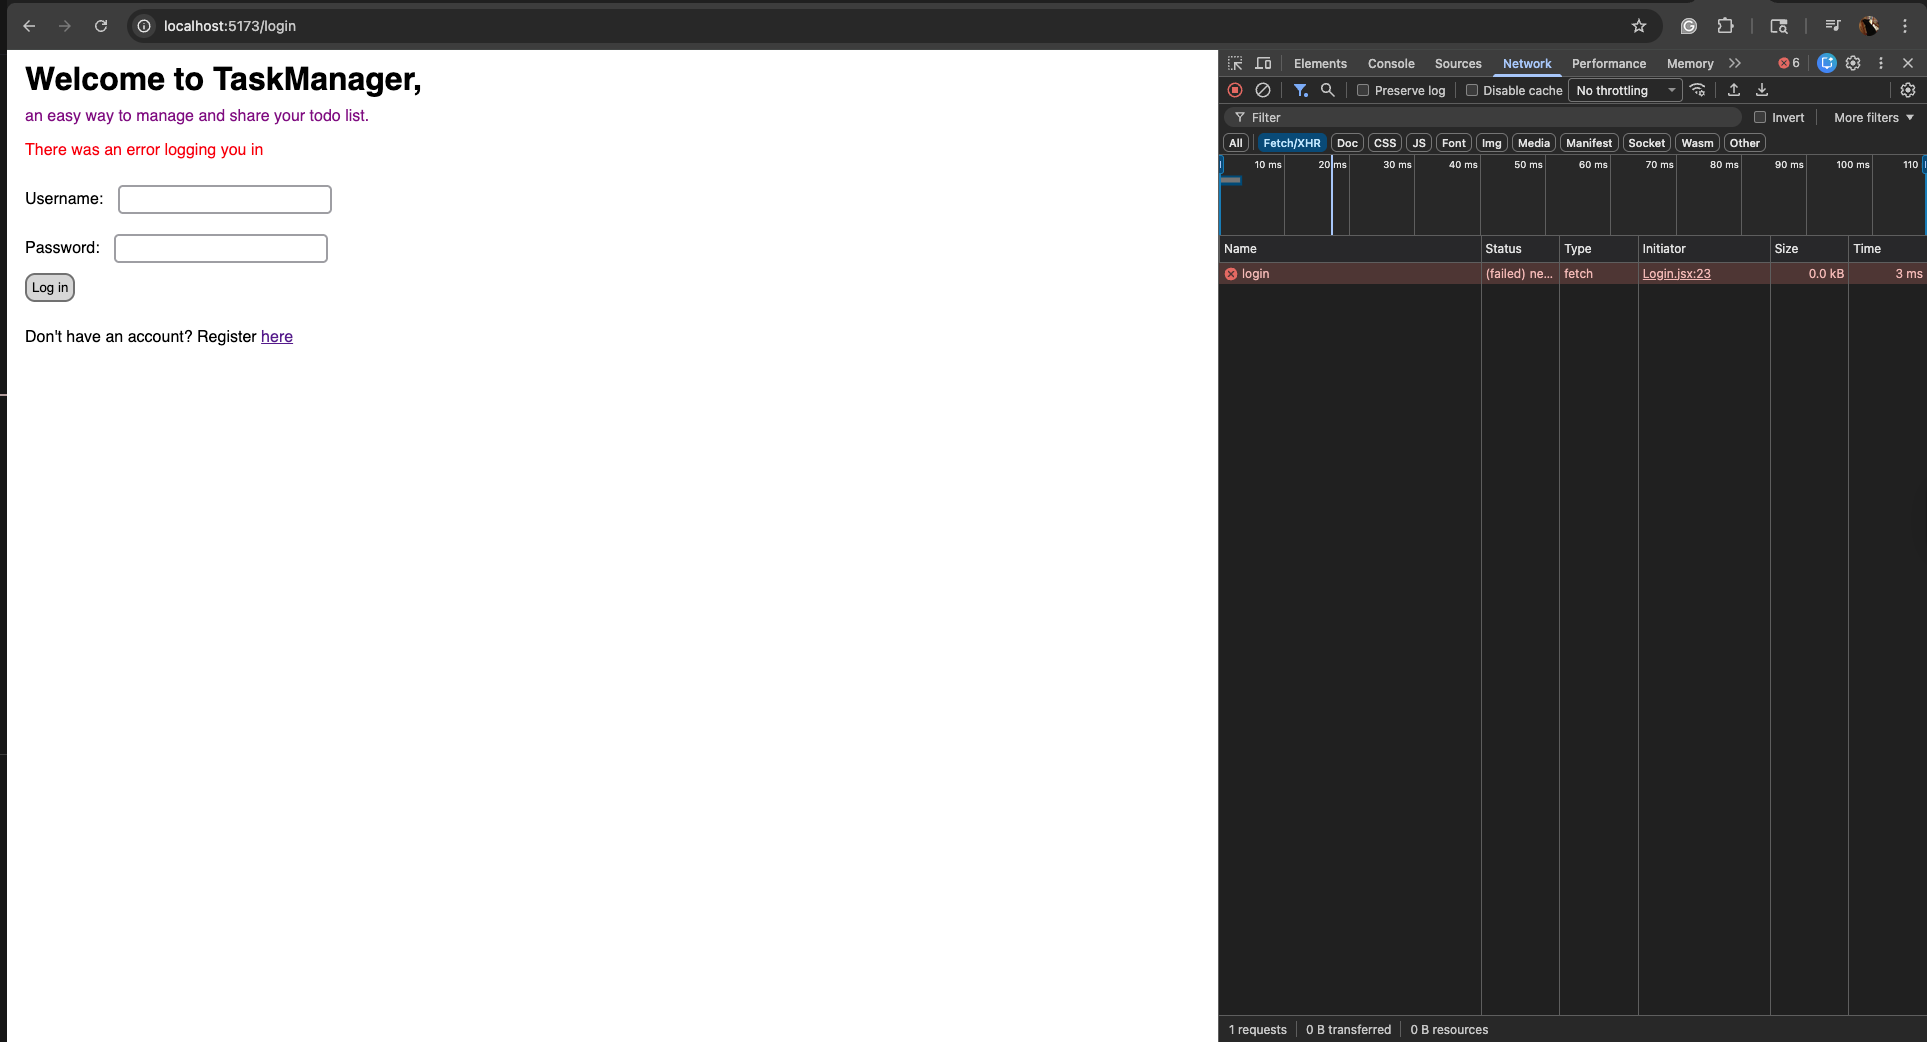
However, if you click the request, you can see that the credentials I entered were correctly sent to the backend! This is all we need for now, since in the next step, we will be configuring the Django backend to receive these requests.
Now that we're sending requests with CSRF tokens, let's create the Django backend which will receive it!